DynaPro Firmware Update*
There are three parts in updating the DynaPro firmware:
I. Unpacking the firmware files II. Updating the firmware III. Configuring the EMV tagsWhat you will need:
- A Windows Computer with Internet Access
- DynaPro connected via USB
- NOTE: EMV Tag Configuration only works with DynaPro and Readers with AMK L1MK0000009. Please make sure your DynaPro / Reader has this AMK before you proceed.
I. Unpacking the firmware files
Step 1: Download the DynaPro Update package.
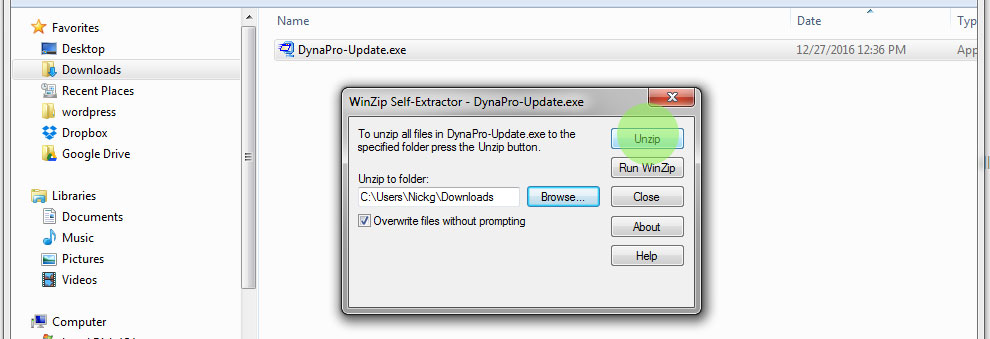
Step 2: Launch 'DynaPro-Update.exe' to unzip all pertinent files. Choose a location where you want to extract the files, then hit 'Unzip'.
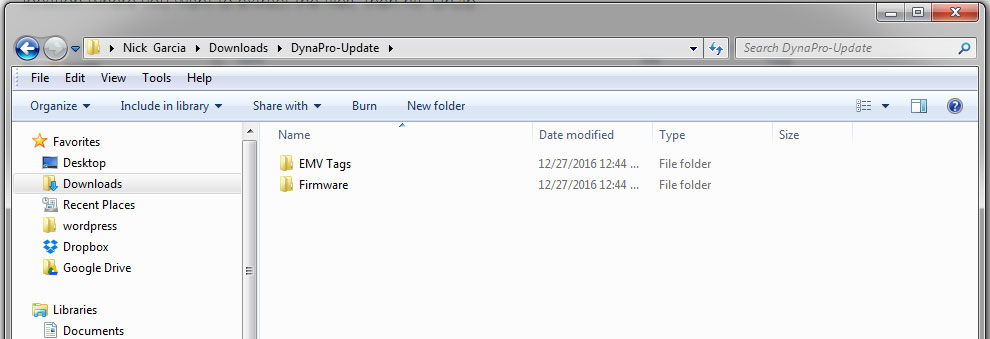
This extracts a folder called 'DynaPro-Update'. It contains two folders: one called 'Firmware', the other 'EMV Tags'. You will be accessing these folders in the next steps.
II. Updating the firmware
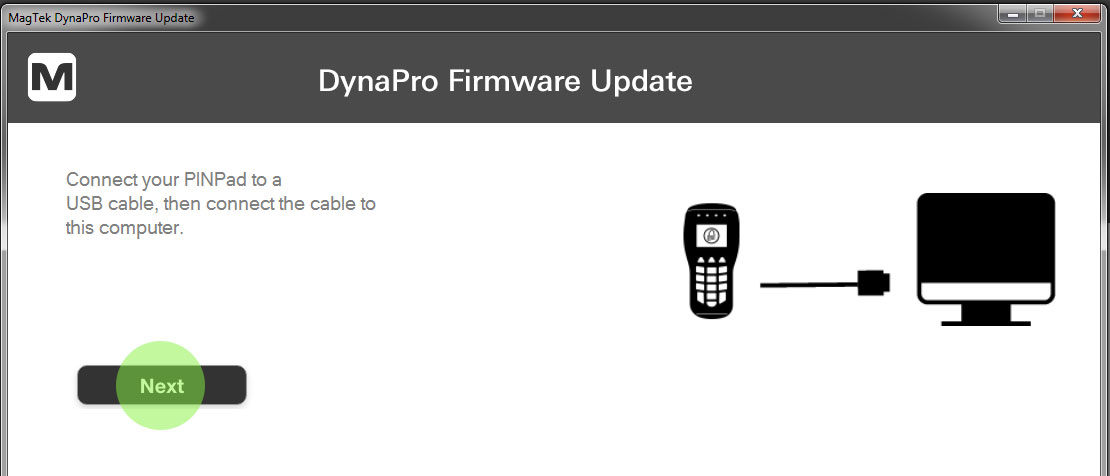
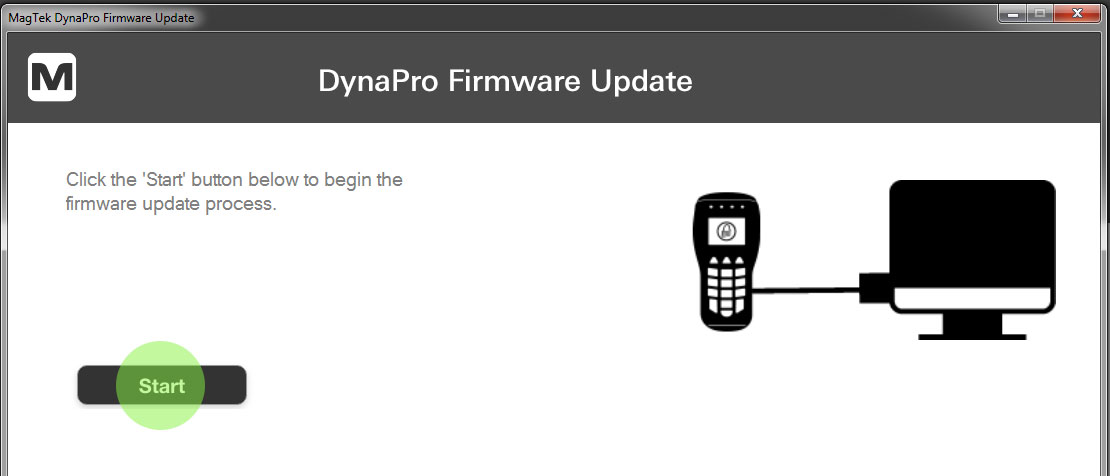
Step 1: Go to the 'Firmware' folder and launch 'Firmware Updater.exe'. This starts a wizard that will walk you thru the firmware update.
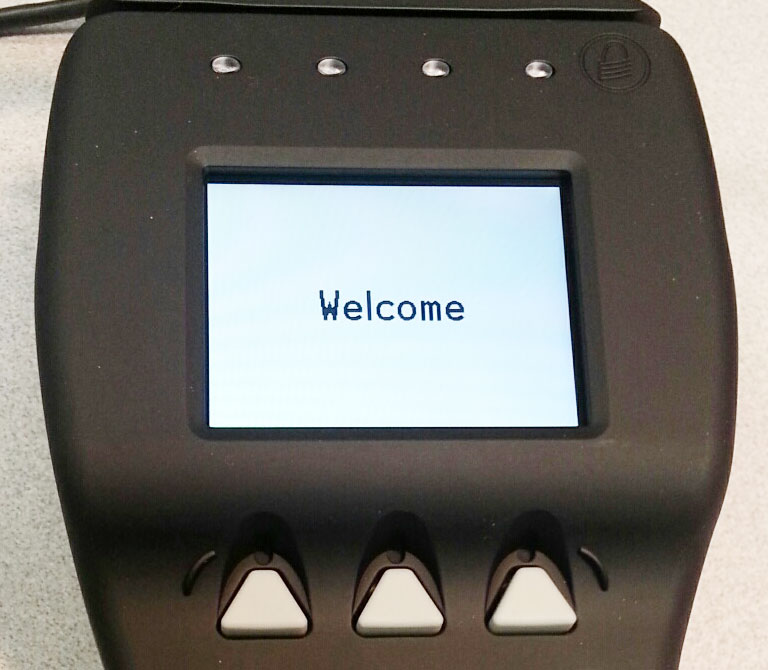
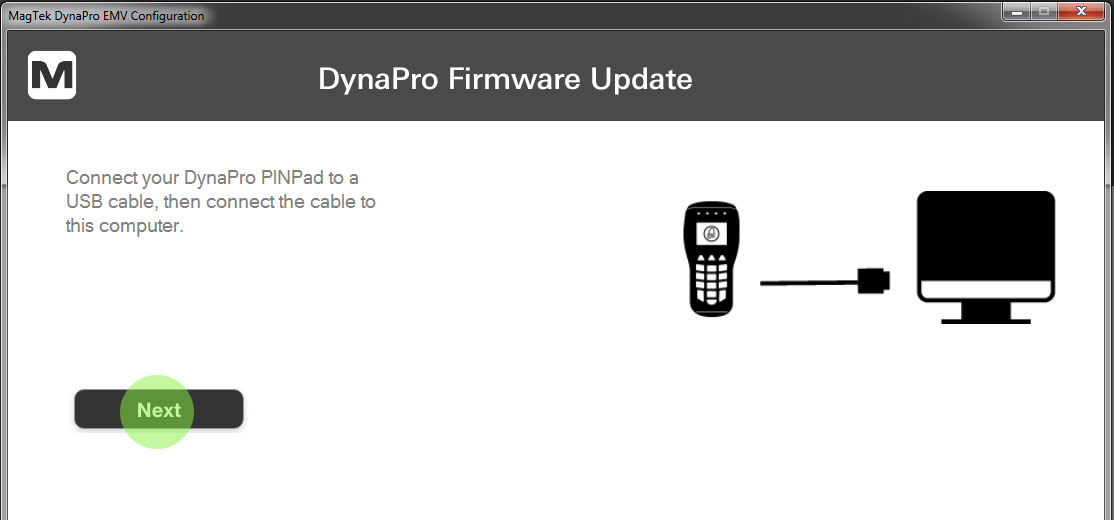
You will be asked to connect your DynaPro to your computer before you start the update. Your DynaPro should display your 'Welcome' screen when it's ready.
When DynaPro is ready, hit 'Next' on the wizard.
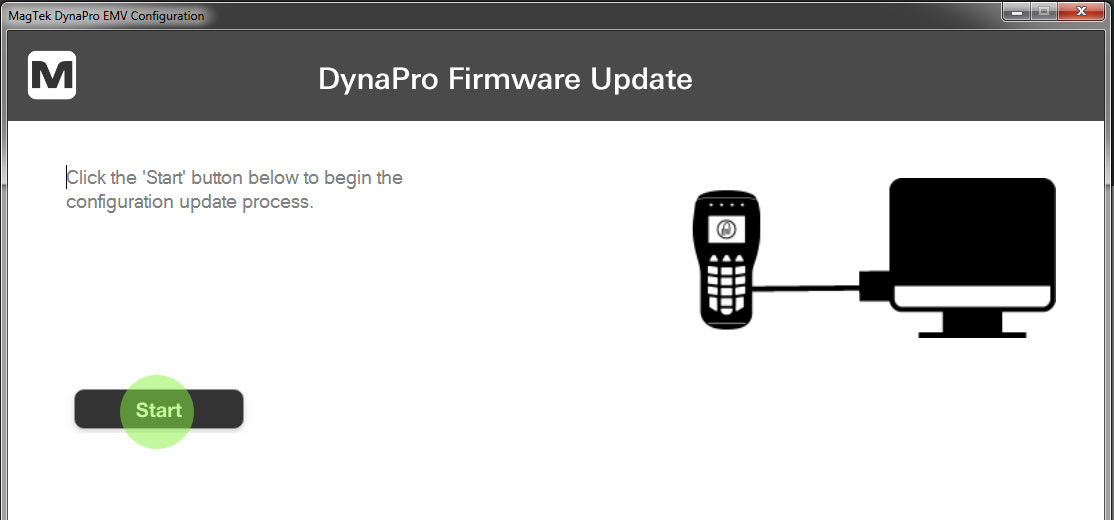
The wizard confirms your DynaPro's connection. Hit 'Start' on the wizard.
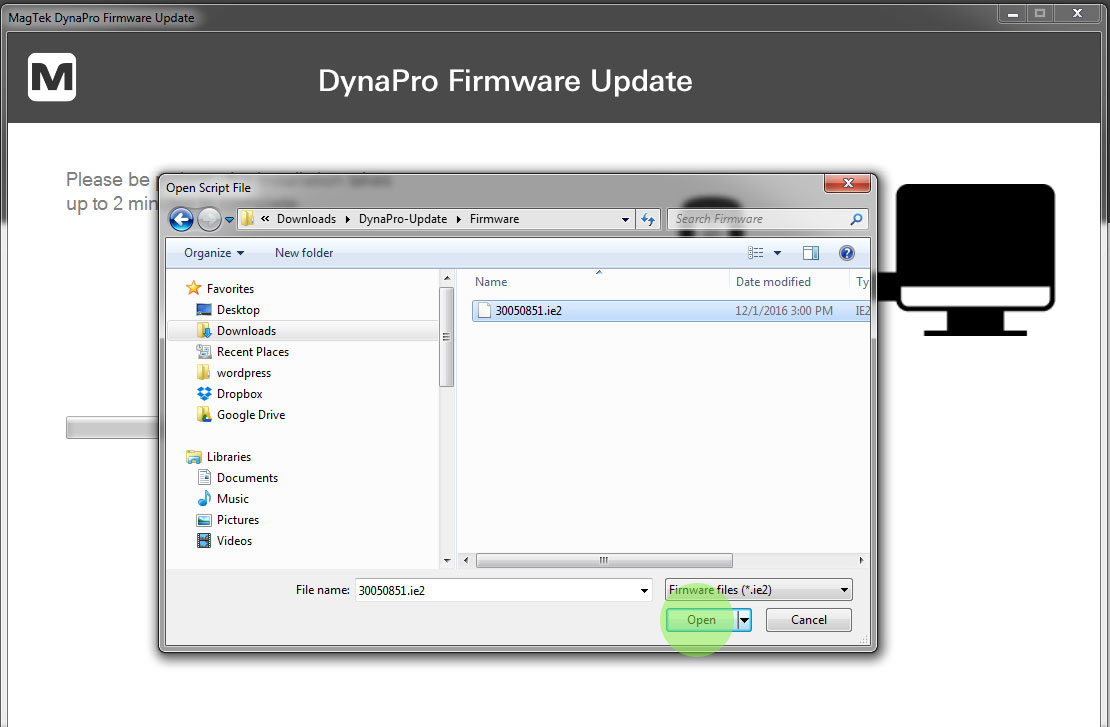
Step 2: Load the firmware file. The wizard will prompt you to browse to the firmware file. Go to the 'Firmware' folder and select the firmware file (.ie2 file extension) to be uploaded. Hit 'Open'.
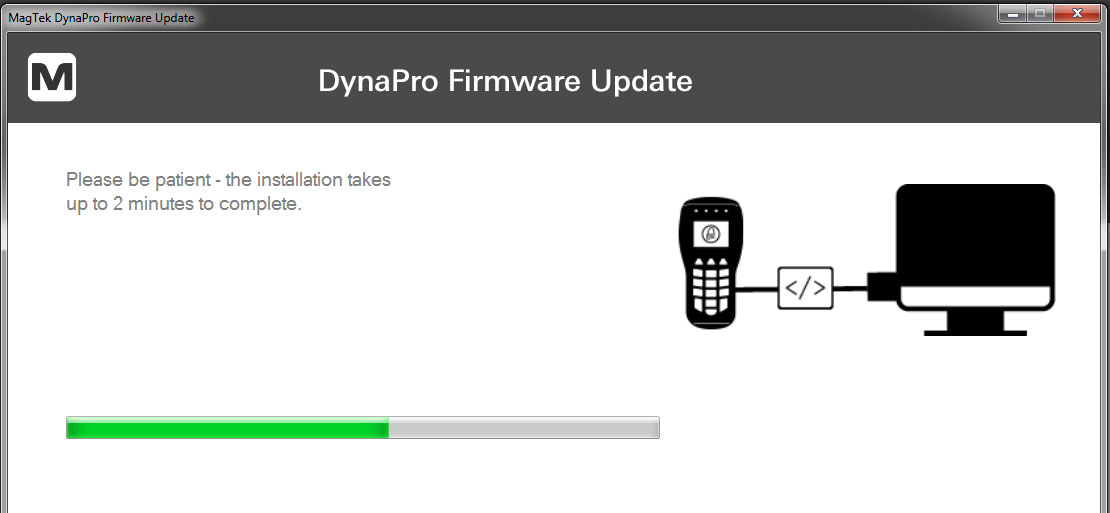
Wizard installs firmware file on your DynaPro. This will take a couple of minutes until your DynaPro restarts. DO NOT power off DynaPro during installation.
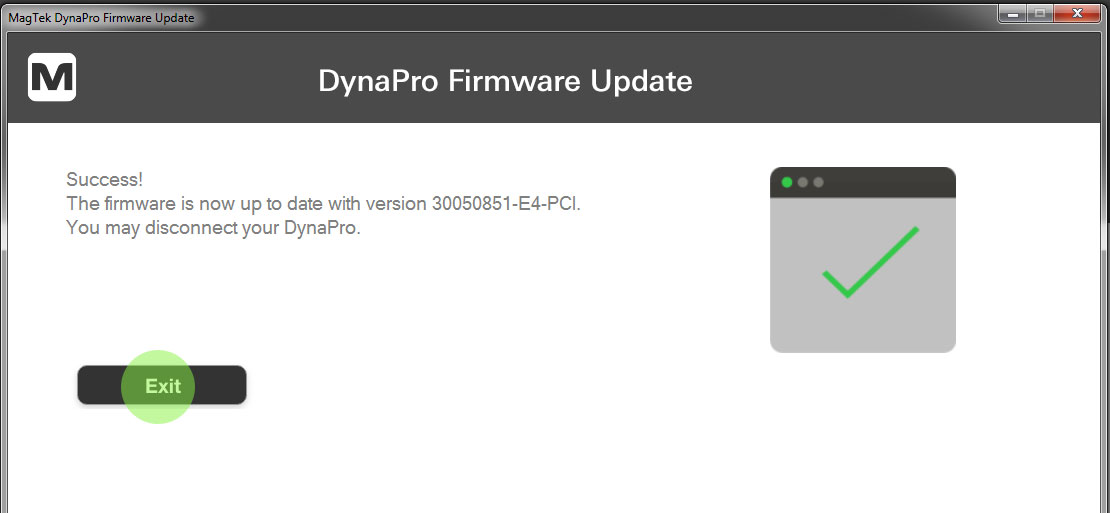
Step 3: Finish firmware update. When you get confirmation of successful update, hit 'Exit'. DO NOT disconnect or power off DynaPro yet, as you MUST now configure the EMV tags on the DynaPro.
III. Configuring the EMV tags
Step 1: Go to the 'EMV tags' folder and launch 'EMV Tags Configurator.exe'. This starts a wizard that will walk you thru the EMV tags configuration.
Since your DynaPro is still connected to your computer, you can hit 'Next' and 'Start' on the wizard.
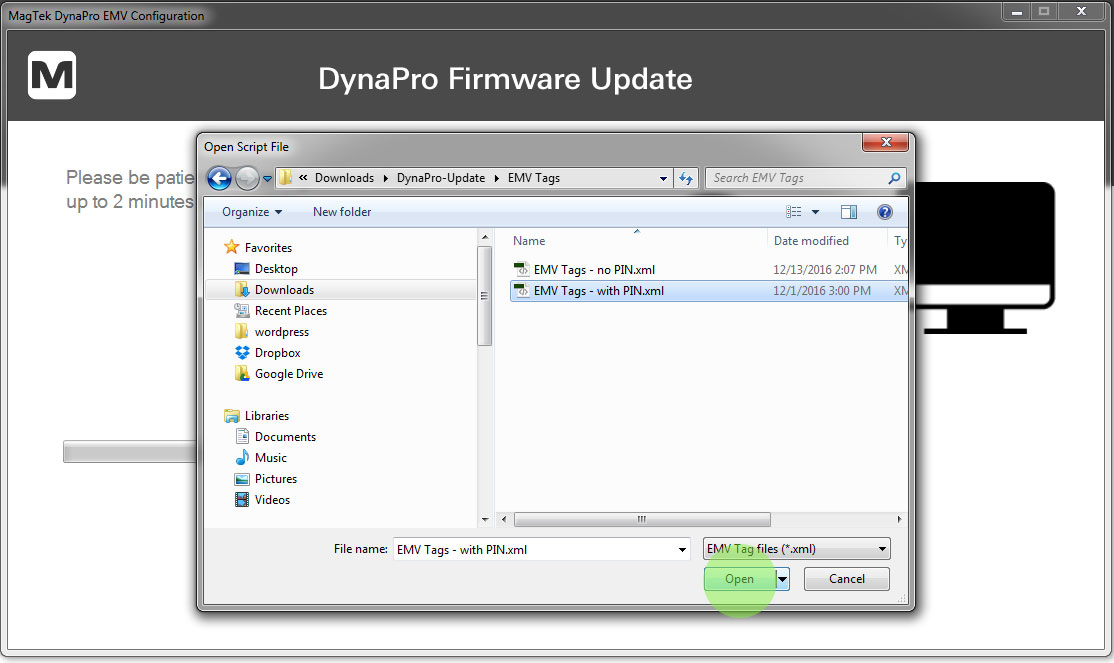
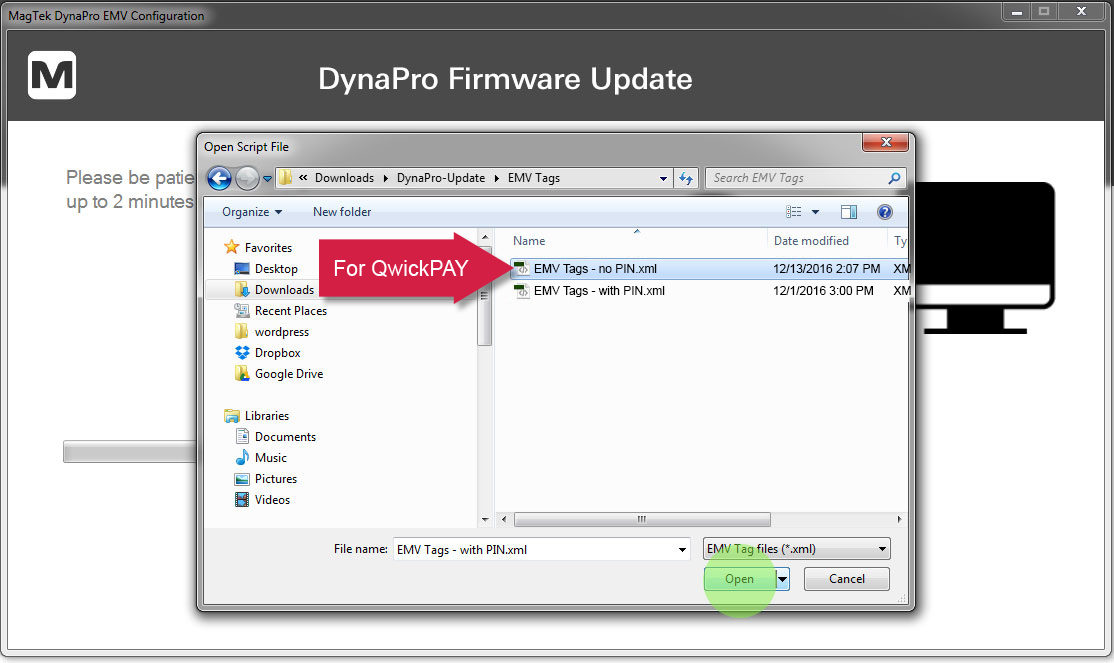
Step 2: Load the EMV tags. The wizard will prompt you to load to the XML file(s) containing the EMV tags. Browse to the 'EMV Tags' folder, then select the file you need.
In the example below, we are selecting the file for 'with PIN'. Hit 'Open'.
NOTE: If you are updating tags for QwickPAY, please select 'EMV Tags - no PIN.xml'
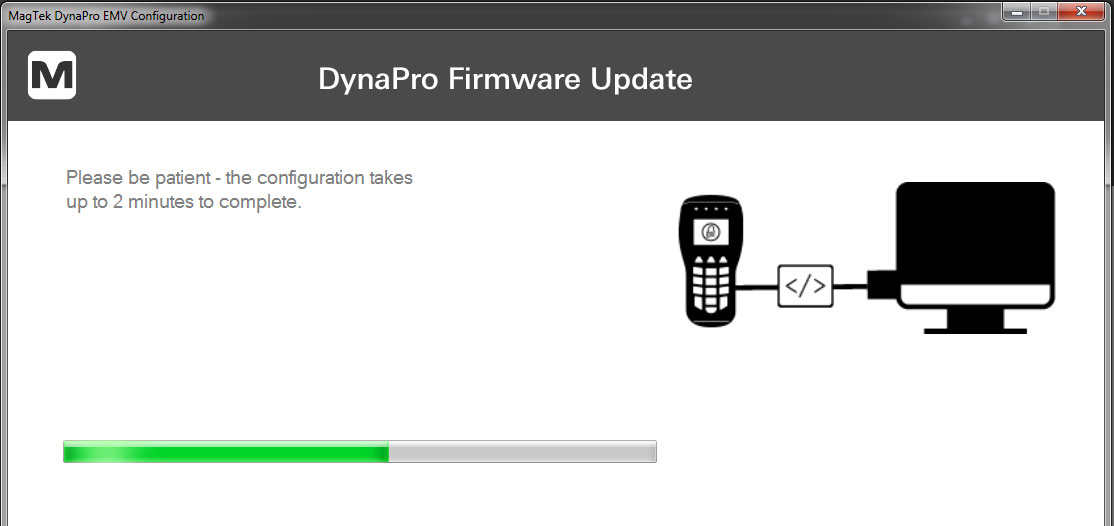
Wizard installs firmware EMV tags on your DynaPro. This will take a couple of minutes. DO NOT power off DynaPro during installation.
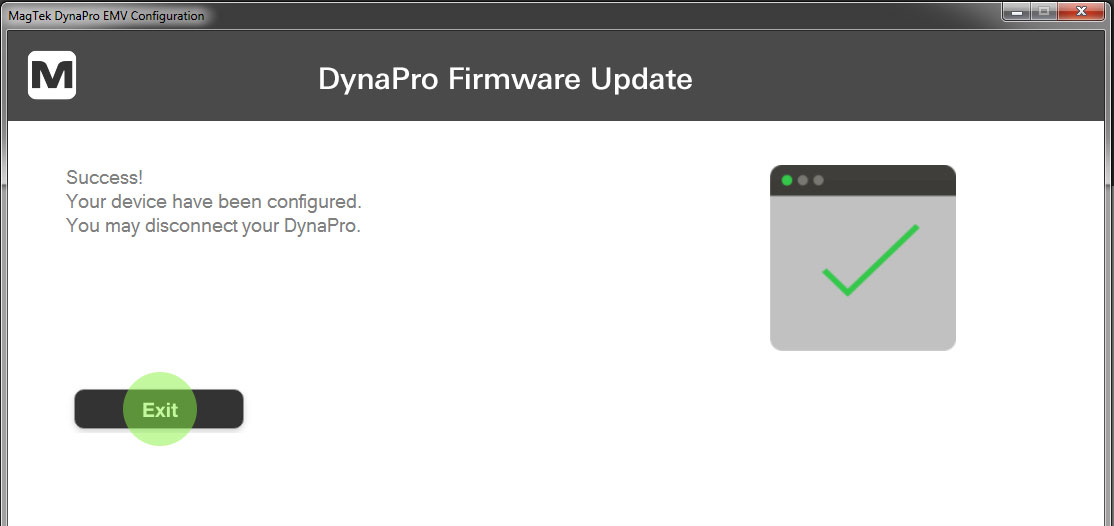
Step 3: Finish firmware EMV tags installation. When you get confirmation of successful update, hit 'Exit'. your DynaPro should be up and ready to go.
Questions? Email support@magtek.com.
*Valid for all PCI SRED devices